VisualGuideToBuildingStendhalStep2
Jump to navigation
Jump to search
Step 2. Install and Configure Ant
Ant is a frontend to the java compiler that makes the building process as easy as double-clicking a batch file (AntDist.cmd).
Step 2.1. Install Ant
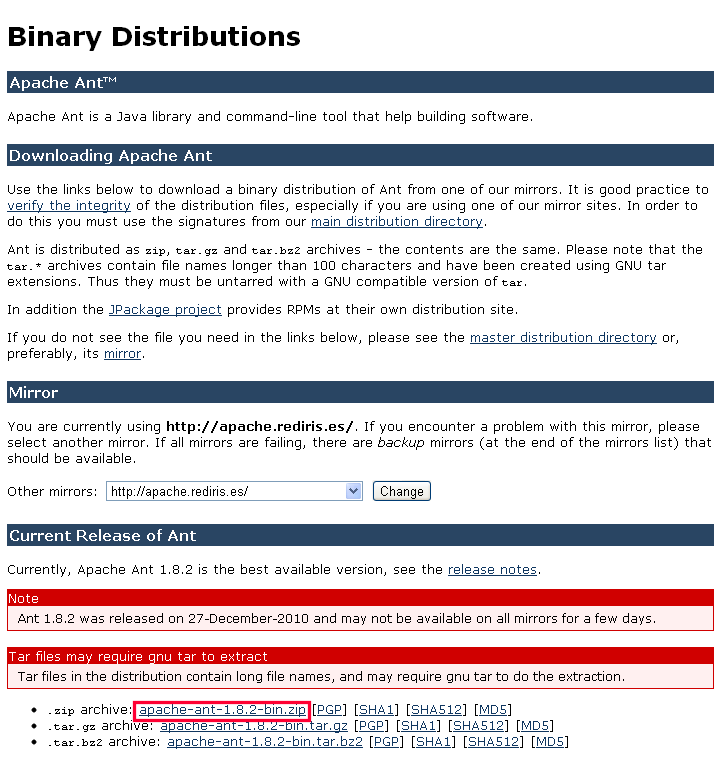
First, go to the Apache's Ant website:
http://ant.apache.org/bindownload.cgi
Unzip apache-ant-1.8.2-bin.zip under the C:\ drive
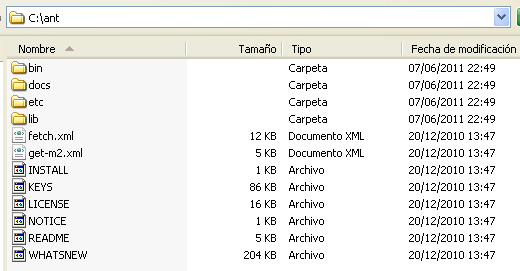
And rename the folder to ant:
This should be the end result:
Step 2.2. Configure Ant
Select this block of text and copy it:
@echo off


REM Change the folder path in the following line if, for example, you have extracted ant without
REM renaming the folder afterwards (even though renaming it is highly recommended)
REM Never leave any space between the variable's name and the equal sign
REM Otherwise, it will simply not work


set ANT_HOME=C:\ant


REM Change the folder path in the following line to the folder path of your
REM own version of Java's JDK
REM Never leave any space between the variable's name and the equal sign
REM Otherwise, it will simply not work


set JAVA_HOME=C:\Archivos de programa\Java\jdk1.6.0_25


REM Do not change the rest of this file

set Path=%Path%;%ANT_HOME%\bin
cmd /c ant dist
pause
Paste it in a notepad document and save it as AntDist.cmd and with 'All Files' as the file type:
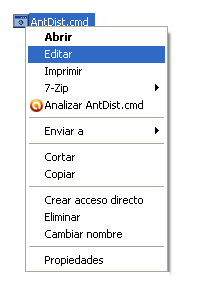
From now on, you can right-click on its filename to edit it:
Set ANT_HOME to wherever you have ant installed.
Set JAVA_HOME to wherever you have java JDK installed.
Step 2.2 Install Node.js
Get and install Node.js from https://nodejs.org


