Marboard Manual
Marboard Navigation: Marboard | FAQ | Manual || Code | Feature Wishlist
Starting the Marboard Client
After downloading the Marboard client, you can start it by just double clicking on marboard-client.jar.
Create account
This is done automatically, a random account is created for you each time you login.
Connect to server
Starting the Marboard client will automatically connect you to the main server
Basic commands
When you login you will see the white background and whatever images are already on the board.
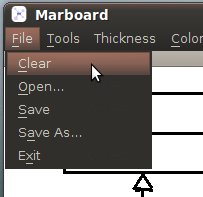
We don't want to see these, lets start afresh and Clear the screen:
The screen will return to white.
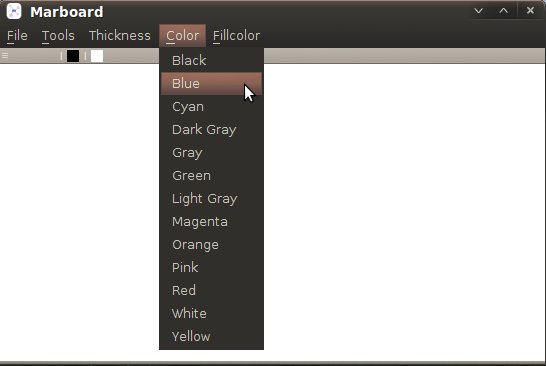
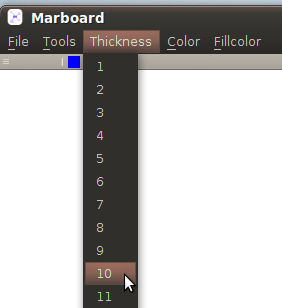
To add your first image, just left click on the white screen and you will make a small black dot. Lets change the color to blue and the thickness to 10, really thick!
Left click again and you will see a thicker blue dot.
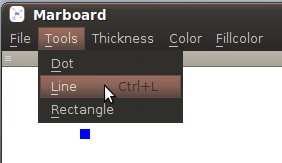
Marboard can also draw lines, and rectangles. We'll use the tool selector to change to Lines:
To draw a line, left click once where you want the start of the line, then release the mouse, and left click again where you want the end of the line.
Likewise to draw a rectangle, left click once where you want one corner of the rectangle, then release the mouse, and left click again where you want the opposite corner of the rectangle.
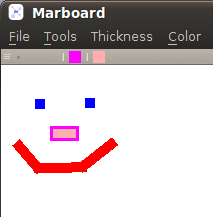
To make the image above, I made two dots. Then I changed to Line tool and changed the Color to Red. Then I made three red lines, which was two clicks each, one click for the start and one click for the end of each line. And then I changed to rectangle, changed the Color to Magenta and the fill Color to Pink. I made one click for the top left corner of the nose and another click for bottom right corner. I didn't drag the mouse at all, I just clicked once for each dot, and twice for the other shapes.
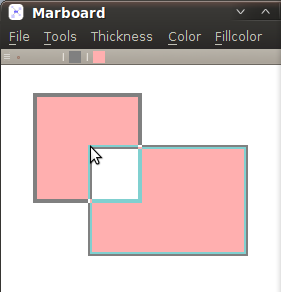
When you are adding new shape a preview will show where it will go:
Saving and Opening .marb files
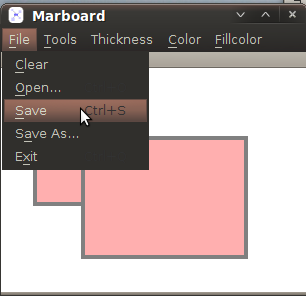
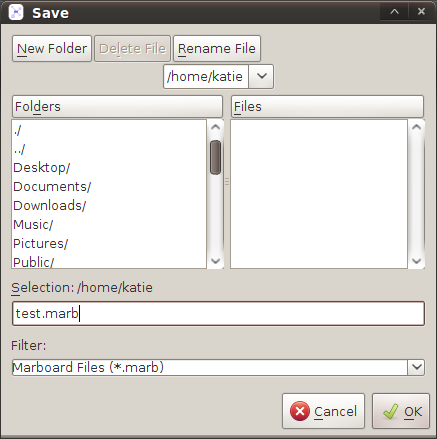
To save your work as a .marb file, Go to File > Save and type in the name of the file to save to:
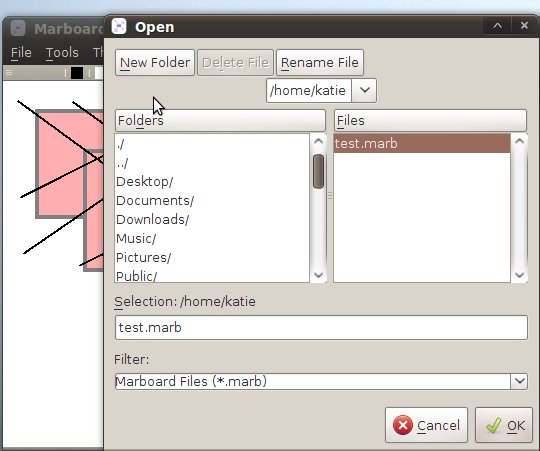
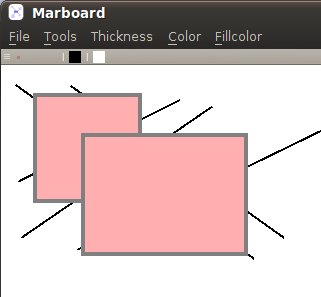
A bit later I left my computer and some child came to draw black lines over my nice rectangles. So I will open the one I saved:
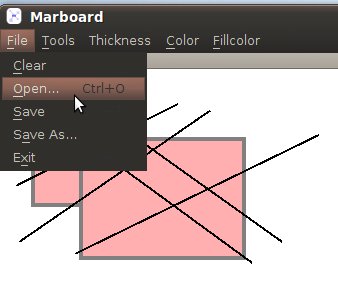
But it opened over the existing board. I should have selected Clear first and then opened it!
Advanced tips
- For an eraser, just use a dot (or rectangle) with white color (and white fill color)
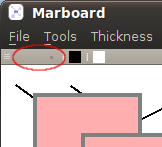
- Try the onscreen tool selector dialog for fast tool switching. Selecting the left most position means no tool. The next along is dot, then line, then rectangle.
