Stendhal on Eclipse
This guide describes how to setup a development environment in Eclipse for Stendhal.
Get Java
- If you can play Stendhal, you already have Java and can skip this step.
- If you do not have java installed, please download it https://java.com
(if you are on Linux, use your packet manager)
Get Node.js
- https://nodejs.org (optional: for building & using web client)
Get Eclipse
- Go to https://www.eclipse.org/downloads/
- Download: "Eclipse IDE for Java Developers"
- Unzip the download and run Eclipse
- In Eclipse, close the "Welcome" window
You can click on the following images to see them in large.
Note: If you installed Eclipse in Ubuntu via a package manager, also install: "eclipse-egit"
New Project from Git
In Eclipse:
- Open menu "File -> Import
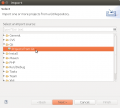
- In the dialog select: "Git -> Projects from Git" and click "Next".
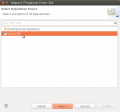
- Select "Clone URI" and click "Next".
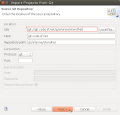
- Fill in the following information:
- URI:
- GitHub readonly:
https://github.com/arianne/stendhal.git
(if you have a github account, please go to https://github.com/arianne/stendhal and click on "Fork" to create you own copy of the repository and then use that in Eclipse instead) - GitHub read/write (SSH):
git@github.com:arianne/stendhal.git
- GitHub readonly:
- URI:
- The result of the fields are filled in automatically, click "Next"
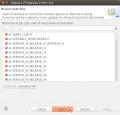
- On the Branch selection page, keep everything selected and click "Next"
- Under "Destination" choose the directory where you want to download the source code and select "Next".
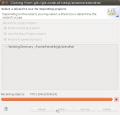
- Eclipse will now download Stendhal from git, this may take a while
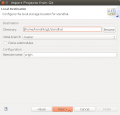
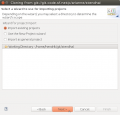
- "Import existing projects" and select "Next"
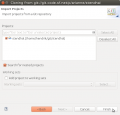
- "Finish" import of project Stendhal
Click on the screenshots to enlarge them, if you need help with any of the steps:
Trouble Shooting
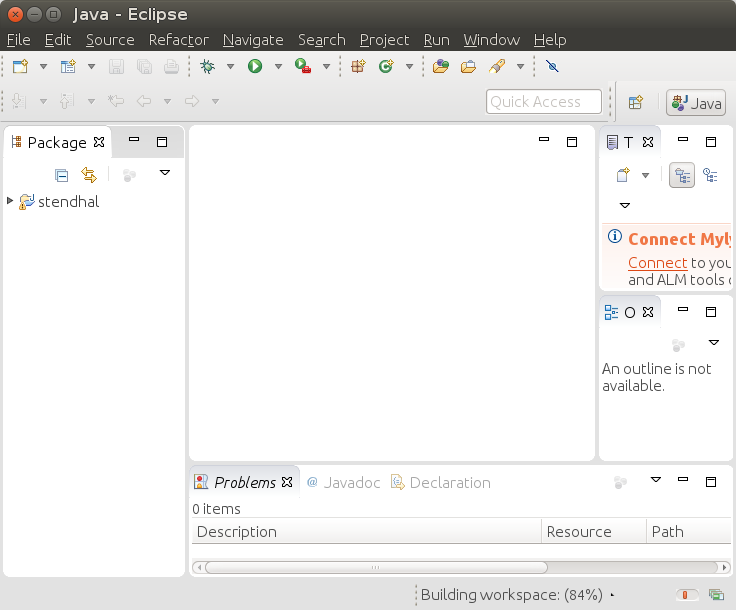
After completing the import wizard, Eclipse should look like the following screenshot:
There is a project called "stendhal" listed in the Package Explorer view. There may be a tiny yellow triangle in front of the blue project icon. But if you see a red circle or a red exclamation mark, something went wrong. In this case there will be an error in the "Problems" view at the bottom.
Start StendhalServer
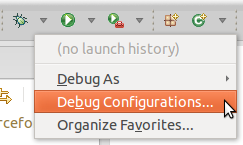
- In the toolbar there is the "Debug" button, which looks like a little, green bug. There is a little black arrow on the right side of it.
- This will open a menu, please choose "Debug configurations ..." ("Open Debug Dialog..." on older versions)
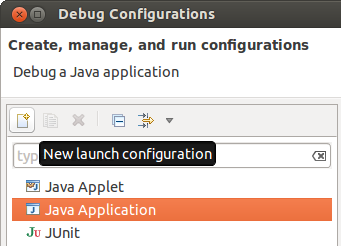
- Then in the dialog select "Java Application" and click on the "new" icon in the top left corner.
Name: StendhalServer
Main class: games.stendhal.server.StendhalServer
- All other settings ("include system libries", "Stop in main", ... can be left at their default value.
- on the [Arguments] tab: VM arguments: -Xmx128M
- on the [Classpath] tab: click "UserEntries" - button "Advanced" - (*) add folder | OK - and select the "stendhal" project root folder | OK
- button [Debug]
And then the server should be started.
NOTE: On newer Eclipse versions, the [Classpath Entries] are under Dependencies tab.
Start Stendhal Client
- Open games.stendhal.client.update.Starter.java in the editor
- Then again the small black arrow on the right side of the green bug.
- Select "Debug Configurations" (or "Run Configurations...").
- Select Java Application and click the "New" button in upper-left corner.
- On the [Classpath] tab select "User Entries" - button "Advanced" - (*) add folder | OK - and select the project root folder. | OK
Making patches
If you have modified and tested the code and want to send us a patch, please see How To Create Patch For Stendhal.
Running JUnit Tests in Eclipse
This is an advanced topic. If you make changes to the Java code, it is a good idea to run the automatic test.
Setting up JUnit tests in Eclipse:
- Click the arrow next to either the green "Run" or "Debug" button.
- Select "Run/Debug Configurations...".
- Select "JUnit" in the left column and press the "New launch configuration" at the top of left column.
- Give it a unique name, like "Stendhal Tests".
- Select "Run all tests in the selected project, package or source folder".
- OPTIONAL: (this step simply reduces the number of directories that Eclipse will search in for tests)
- Press "Search".
- Select "tests" folder under Stendhal root directory and press "OK".
- Under "Test runner" select "JUnit 4".
- Under "Classpath" tab select "User Entries" and press "Advanced" on the right panel.
- NOTE: There should already be a folder under "User Entries" with a "(default classpath)" suffix. Do not delete this folder.
- Select "Add Folders" and press "OK".
- Select the Stendhal root folder and press "OK".
- Now click "Add JARs..." on the right panel.
- Under the Stendhal root folder select all the .jar files in libs and press OK.
- Now press "Apply" to save the configuration or "Run" to save and run it.


